Slit Scan ImagesWritten by Paul BourkeAugust 2014
There are a number of methods by which time and space can be encoded in a single image. Historically one method of achieving this was the multiple exposure, multiple time points overlaid in one image and facilitated by current digital technology where images can be variably added together without the constraints of film. 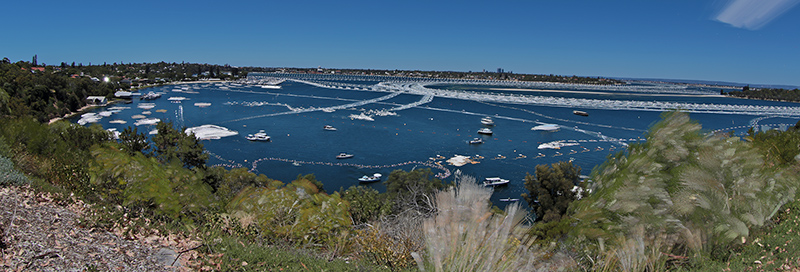
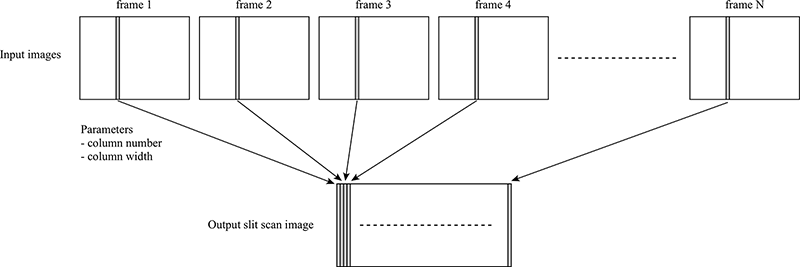
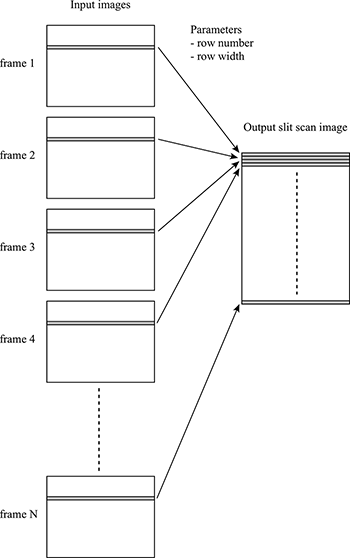
Another method possible in the digital era is the chronopanorama where an isolated object at different times and at different spatial positions are embedded in an otherwise self consistent panorama. In what follows another approach is outlined, here single rows or columns from frames (typically from a movie) are combined into a single image. This has parallels to slit cameras, also sometimes used for creating a panorama, hence the name. The general algorithm is straightforward, vertical or horizontal strips from a series of images (generally sequential frames from a movie) are laid adjacent to each other in the output slit-scan image. Variations include: the slit may be of variable width, frames may be skipped, and one may vary the row or column used across the input images. The output image can be considered to vary horizontally (or vertically) in time. Vertical slits
Horizontal slits
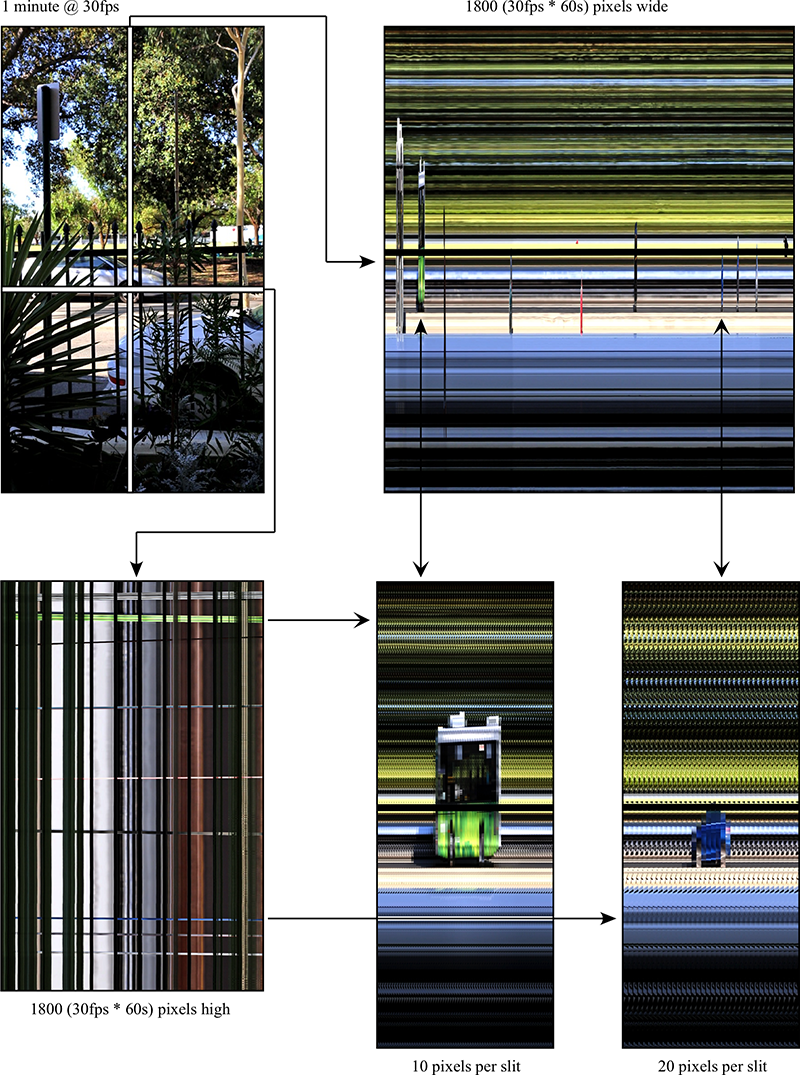
Example 1: Stationary camera. While not a particularly interesting example, it does serve to illustrate some of the features of such images. Allowing one to think about how to film in order to create more engaging slit-scan images.
Example 2: Linearly moving camera. The following examples is from a camera pointing perpendicular to the direction of travel and taking vertical slits. If the camera were moving perfectly straight then this would result in a vertical perspective but horizontally orthographic projection, assuming also the speed was correct. In reality, and what makes these images interesting, is the vertical camera movement that shifts the horizon and change in speed that stretches space horizontally. An interesting feature of this type of image is that a stereoscopic pair can be created by choosing two horizontally offset vertical slits. 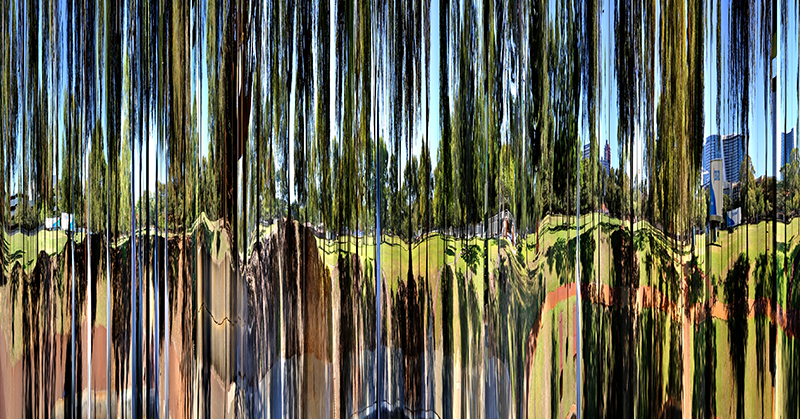
Adjusting the slit width has the effect of providing more continuity. This can be at the expense of introducing a sawtooth effect arising from features that ramp across the slit width, this can be seen in example 1 in the 20 pixel wide slit (inset image bottom right). 


 Implementations Utility to implement simple forward mapping has been developed, standard UNIX command line, as follows. The code to do this is straightforward, the images (individual frame from a movie) can be read one at a time and the appropriate row or column set extracted. The final image size can be determined at the outset, the only slightly tricky thing is dealing with images that may be greater than 32K pixels which is not dealt with by all image formats. Usage: slitscan [options] nstart nstop mask Options: -col choose columns (default: rows) -w n width of slit (default: 1) -l n line to extract (default: central) -s n skip n frames (default: 1) -o s output file name (default: created internally) Note that forward mappings have limitations, for example only integer sets of rows or columns can be extracted, there is no antialiasing, and without some difficulty one cannot extract arbitrary diagonal lines or other curves. These can be overcome by performing a reverse lookup, that is, one determines the best sample pixel from the set of input images for every point in the output image. This is the usual method by which image transformations are performed, it ensures no gaps in the output image which could arise from more complicated extraction schemes than just rows and columns. It also allows trivial implementation of supersampling antialiasing. An important implementation difference is that now one cannot read the input images in sequence because one does not know in advance which image the next pixel may come from. Since the whole image collection cannot usually be expected to reside in memory, this implementation requires a image loading/unloading management scheme, keeping images in memory if possible but releasing them and loading in new images as required.
Usage: reverseslitscan [options] n1 n2 mask
Options:
   -wh w h  dimension of the output image (default: 1024 1024)
   -v1 n    variable 1 for modes (default: 0.5)
   -v2 n    variable 2 for modes (default: 0)
   -m n     image mode (default: 0)
               0 = columns, v1 is column
               1 = rows, v1 is the row
               2 = column angle, v1 is column top, v2 is horizontal offset
               3 = row angle, v1 is row, v2 is vertical offset
   -a n     antialias level (default: 1)
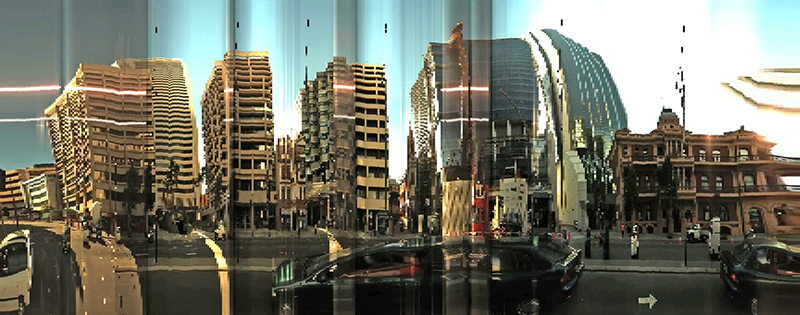
A variation is to scan the row or column across the image. This often leads to more interesting results for stationary cameras and results in increased spatial coherence. 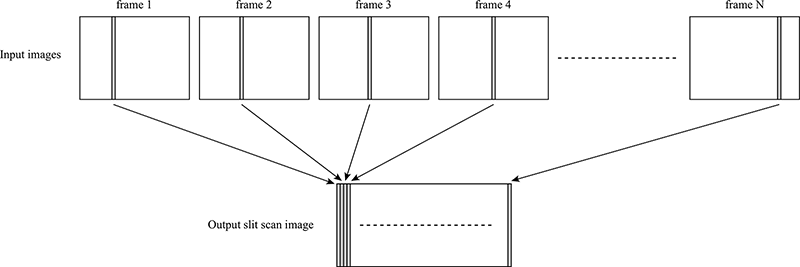
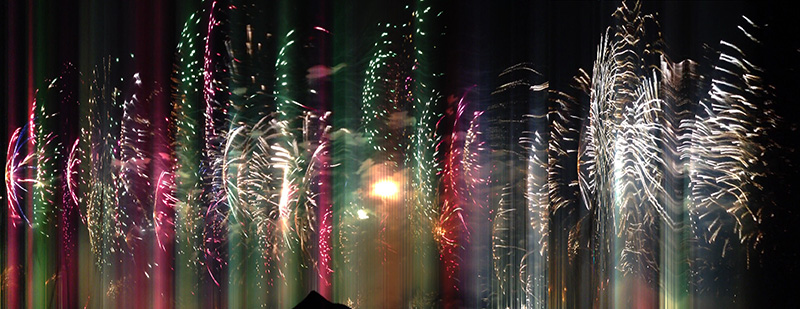
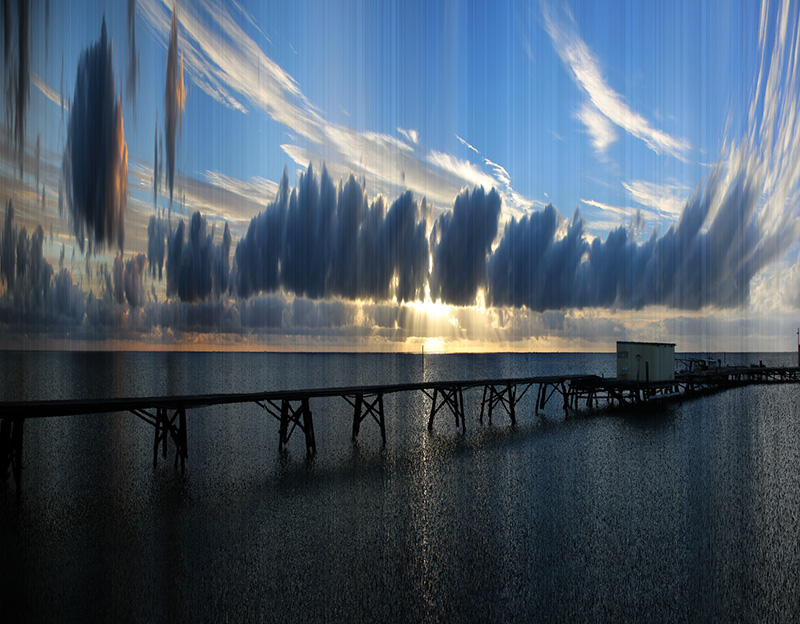

Contribution by David Carson
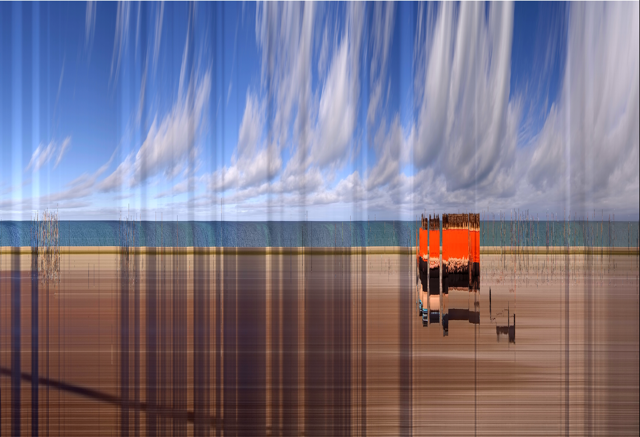
Added the ability to extract pixels from every n'th frame. Usage: slitscan [options] nstart nstop mask Options: -col extract columns (default) -row extract rows -w n width of extracted slit (default: 1) -l n slit row or column to extract (default: central) -s n image skip (default: 1) -o s output file name (default: created internally)

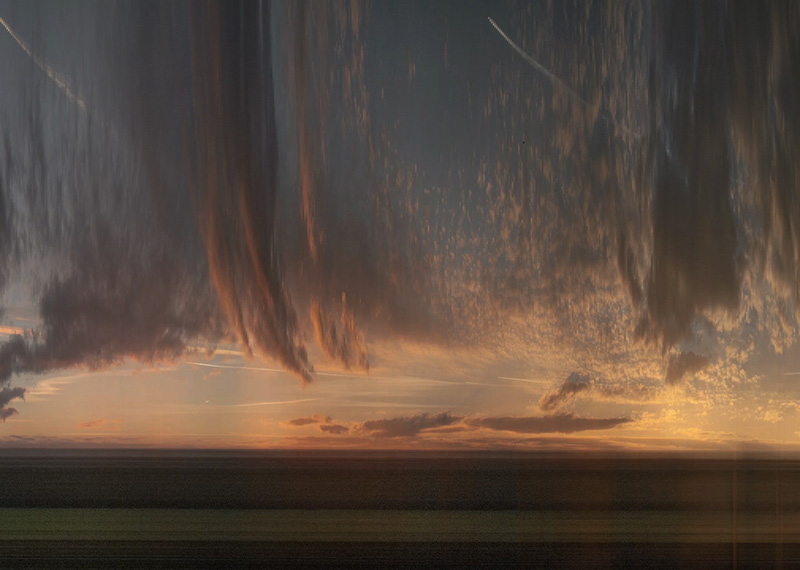
View of Hong Kong from the 17 floor of a hotel. The images spans sunset, the left hand column is 20 minutes behind the right hand column. 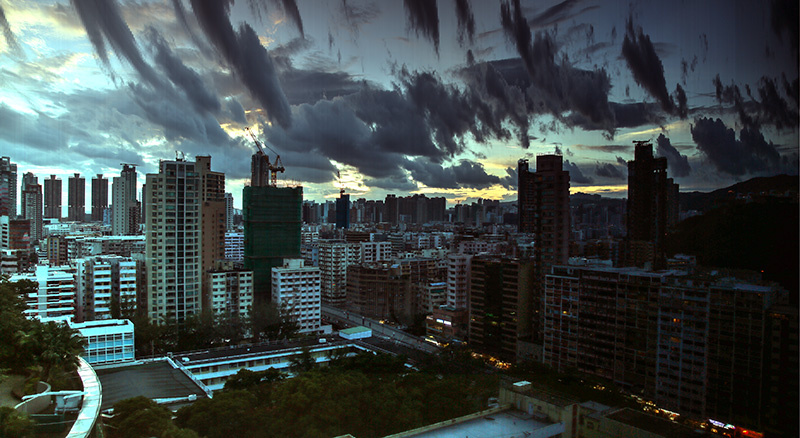
Howick, Auckland. 6:00 pm to 7:30 pm in 2 second intervals. 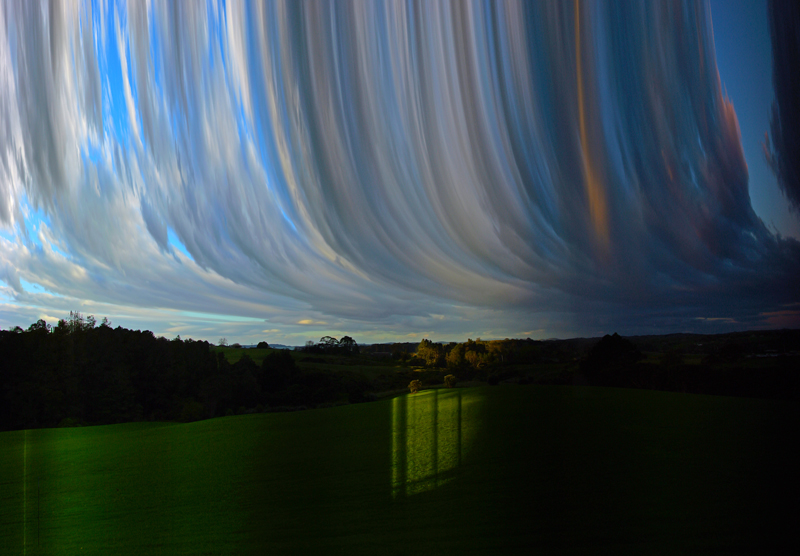
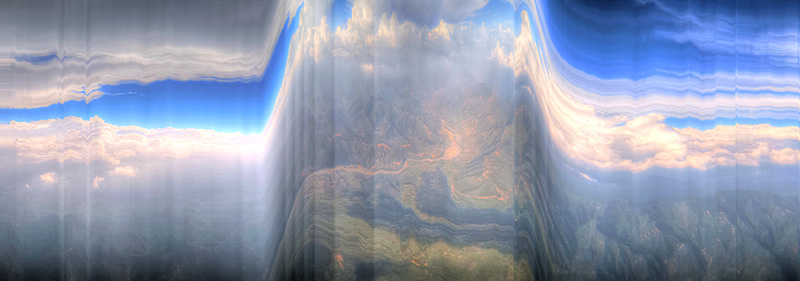
Geelong to Melbourne by train, 1 hour, 100,000 slices. 
See also: Inverse panoramas
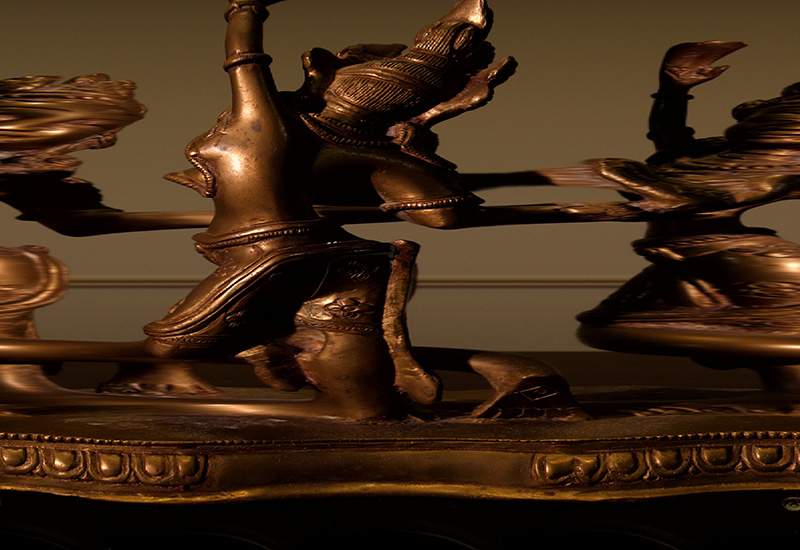
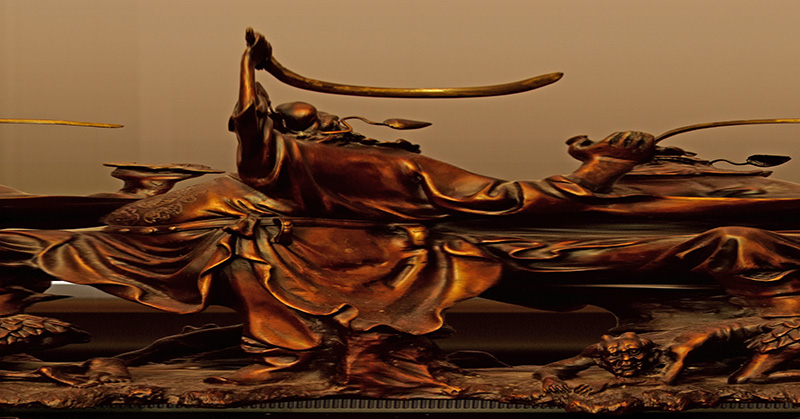
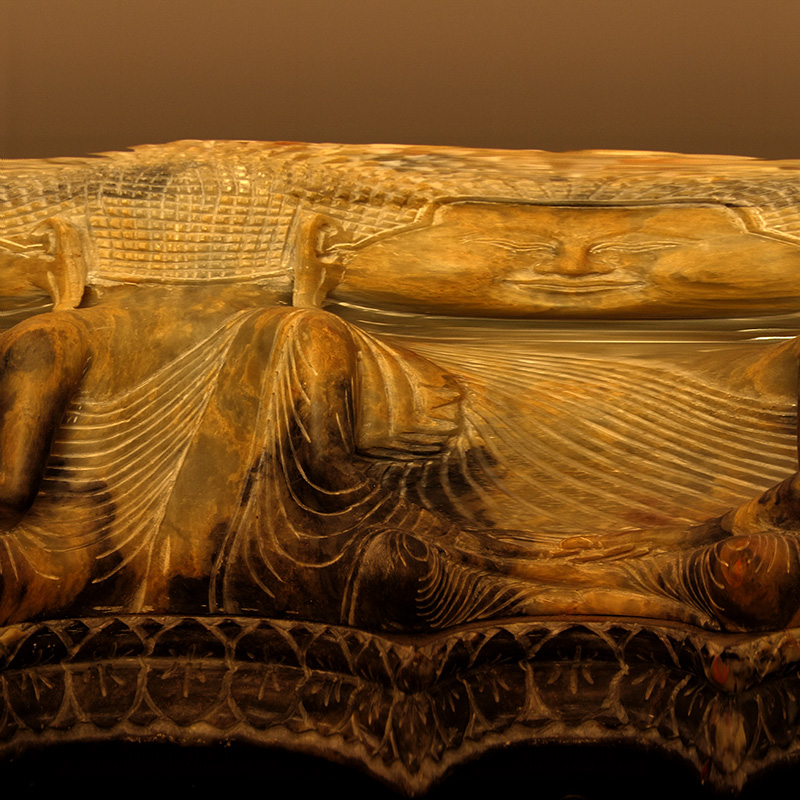
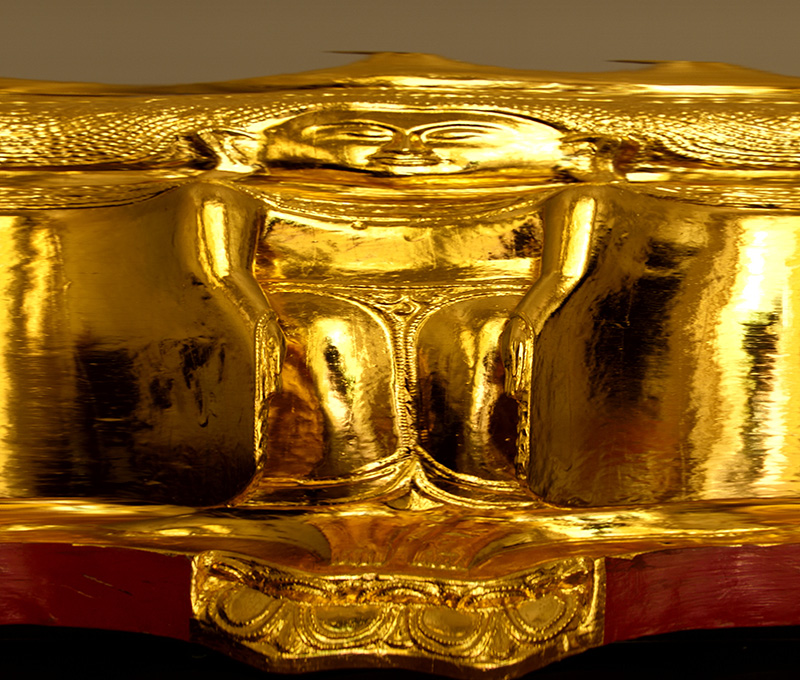
Slit scans can also be applied to 360 video, namely equirectangular images. It can be applied both horizontally (rows) and vertically (columns). The following spans 1 hour, 6pm on the left edge and 7pm at the right edge, it still wraps like a normal equirectangular image except of course for the brightness change. Examples below from Matagarup Bridge in Perth, Western Australia. 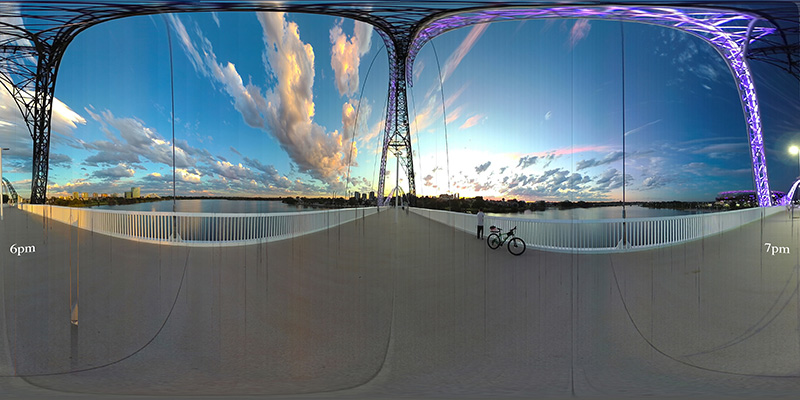
These in turn can be remapped to stereographic images. 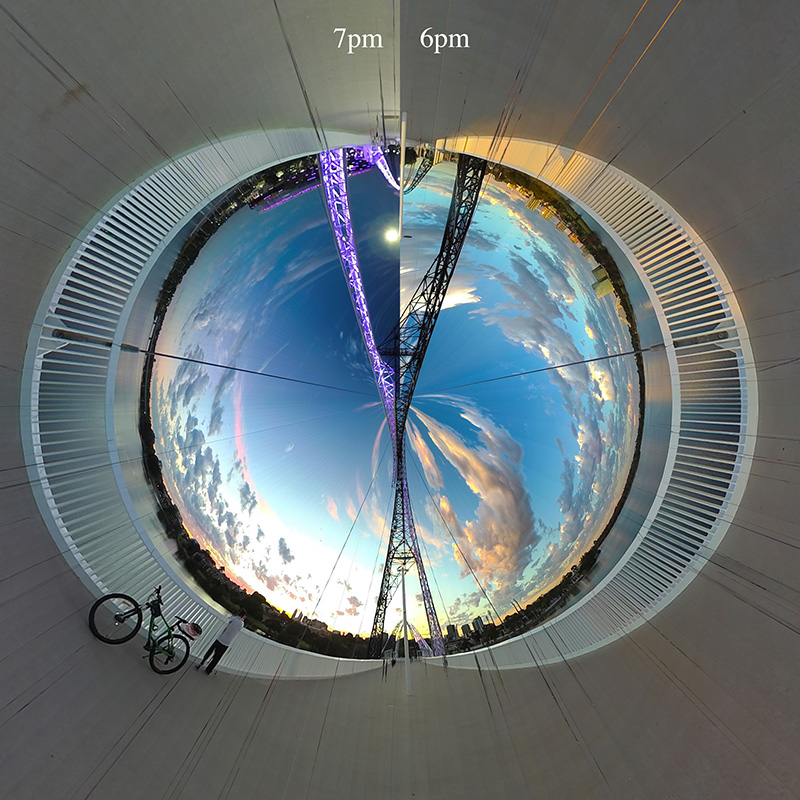
|
